 |
| After the skating. All photo credits: my mom ('cause I was too busy falling down to take pictures) |

Adventures (and bruises) on Ice
Food at Liberty
Today, I will discuss a deep, dark secret...the food Liberty University serves in its dining hall. Oh, I love all the many different kinds of food found in the Reber-Thomas Dining Hall here on campus, though many times I am quite unsure exactly what I’m eating. And even though I’ve immensely enjoyed most of the food here so far, that one dinner I ate last week was admittedly not the most delicious thing I’ve ever digested. It had the flavor of a raw onion and the texture of an old shoe. Now I’m not saying you shouldn’t try this particular dish, whatever it may have been. I’m just saying I wouldn’t advise it unless you’re particularly fond of eating onion-flavored shoes.
Welcome Week at Liberty: A Freshman's Perspective
Hello everyone! As most of you probably know, I've been at college ever since Thursday. Since so many of you have been pestering me for a blog entry (*cough cough*), here it is, written as a daily account of my adventures here at Liberty University.
Red Toyotas and Blue Buicks
We got a new car. And that might not sound so special to some of you, but when it's the first car your family's gotten in a dozen years, it's kind of a big deal! Here's a photo I took of some of my family members next to it a couple weeks ago:

1,000 Things to Do on a 1,000 Mile Car Trip
My family and I just got back from a two-week vacation to Delray Beach, Florida! We had so much fun there, this is going to be the first of several posts about our time there.
It's a 1,000 miles from here to Delray, and as many of you know, we drive it in two days. So what do Esther and I do for a thousand miles in the backseat?
Read on to find out.
What Happens When You Ask Rachel to Bake a Giant Cake
I baked a cake yesterday. Not just any cake, but my graduation cake. And not just any graduation cake, but a 12x18 cake, the biggest thing I've ever baked in my life! (12x18 inches that is, not feet. I got covered in enough batter just from this one!)
 When one is baking a foot and a half long cake, proper greasing of the pan beforehand is vital. It is equally important to cover the pan well with a fine layer of flour. As a side note, when I had finished, I too was well-greased and covered with a fine layer of flour.


Next, the eggs. All ten of them. Cracking two eggs at a time certainly helps it go faster. As an added benefit, it also adds that nice crunch to the cake, so important for one's daily calcium intake.
How do you mix up three boxes of cake mix at once? 
Just like this! I hope you like cake batter, because when you do this, you're certainly going to get a lot all over the place.

The biggest bowl of cake batter I've ever seen for the biggest cake I've ever baked...
I told her to look normal and pretend I wasn't even taking pictures.
 When one is baking a foot and a half long cake, proper greasing of the pan beforehand is vital. It is equally important to cover the pan well with a fine layer of flour. As a side note, when I had finished, I too was well-greased and covered with a fine layer of flour.

 |
| This is what happens when you give the camera to your sister and tell her to take some nice photos. |
 |

Just like this! I hope you like cake batter, because when you do this, you're certainly going to get a lot all over the place.

The biggest bowl of cake batter I've ever seen for the biggest cake I've ever baked...
 |
| When you mix up three boxes of cake mix my way, you end up splatting the batter on yourself and the counters (but mostly on yourself). |
 |
| Licking off the spatula just a little bit too eagerly. I get excited about cake batter, ok? |
The sad thing is, this is normal...


After gallons of batter all over the kitchen, you may be wondering how the cake turned out. Well, see for yourself!
It's amazing how hilarious baking a giant cake can be. Of course, when you've had as much sugar as Esther and I did, everything seems hilarious!


 |
| Yes, this is actually the only good picture I have of the cake. It was late at night... |
All About Sprouts
 Sprouts are an amazing vegetable full of tons of vitamins, nutrients, and other good stuff. In fact, they have even more nutrients than normal salad greens. Plus, they're just plain delicious. Normally, sprouts tend to be a rather hard-to-find, expensive item at the grocery store, but the good news is, it is super easy and a lot of fun to grow them yourself at home. All you need are a few simple supplies and a little extra counter space.
 - A sprouting lid and jar (we got sprouting lids that screw onto wide-mouth canning jars. A quart size jar is best.)
- Sprouting seeds: Some seeds are treated to prevent them from sprouting, so make sure you get special seeds that say they are made for sprouting. Probably organic ones too.
Here's what you do:
- Put about one or two tablespoons of seeds in your jar, depending on the size of the seeds. The smaller the seeds, the fewer you will put in the jar. Your package of seeds should tell you how many. Fill the jar with some water and let the seeds soak for about 8 hours.
- After the seeds have soaked, tip the jar upside down to let the water drain out. Rinse and drain the seeds, leaving the jar in a bowl at around a 45 degree angle.
- Rinse and drain the seeds about two or three times a day. If they start to smell or get moldy, you're probably not rinsing them often enough or draining them well. If this happens, throw them out and start over again. But as long as you rinse and drain your seeds well, you shouldn't have to worry about bacteria forming.
- The seeds should begin to sprout within 24 hours, and they will be ready to eat in about 3-5 days. When they're almost done, leave them in a sunny spot to "green up" a bit.
- Keep your sprouted sprouts in the refrigerator for up to a week, rinsing them once a day to keep them fresh (if you leave them out, they'll keep on growing!)

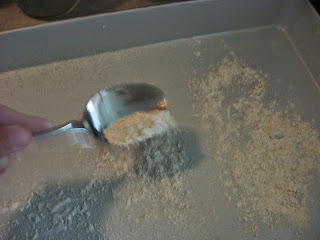
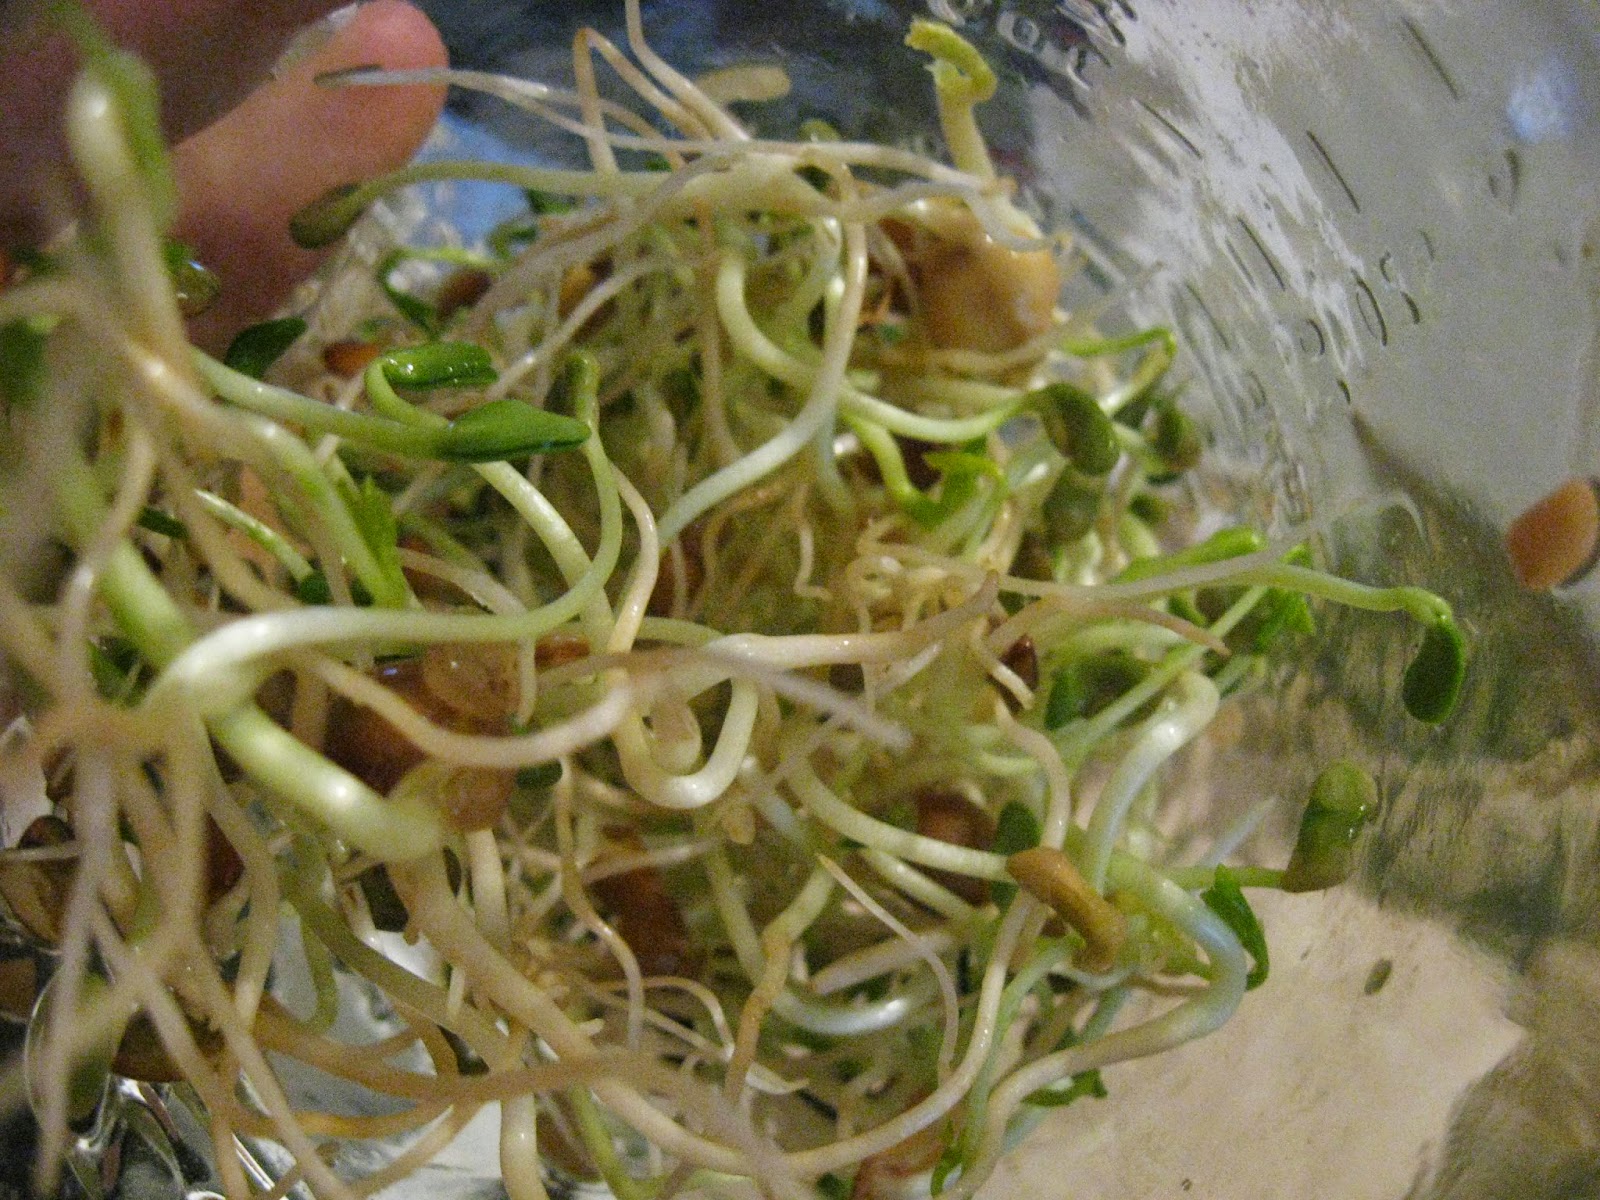
Here's a series of photos I took showing how the seeds sprout. The seed mix is called "Crunchy Bean Mix", and since the seeds are really big, they take the longest of all to sprout. However, as you can tell, they're still ready in about 4 days.
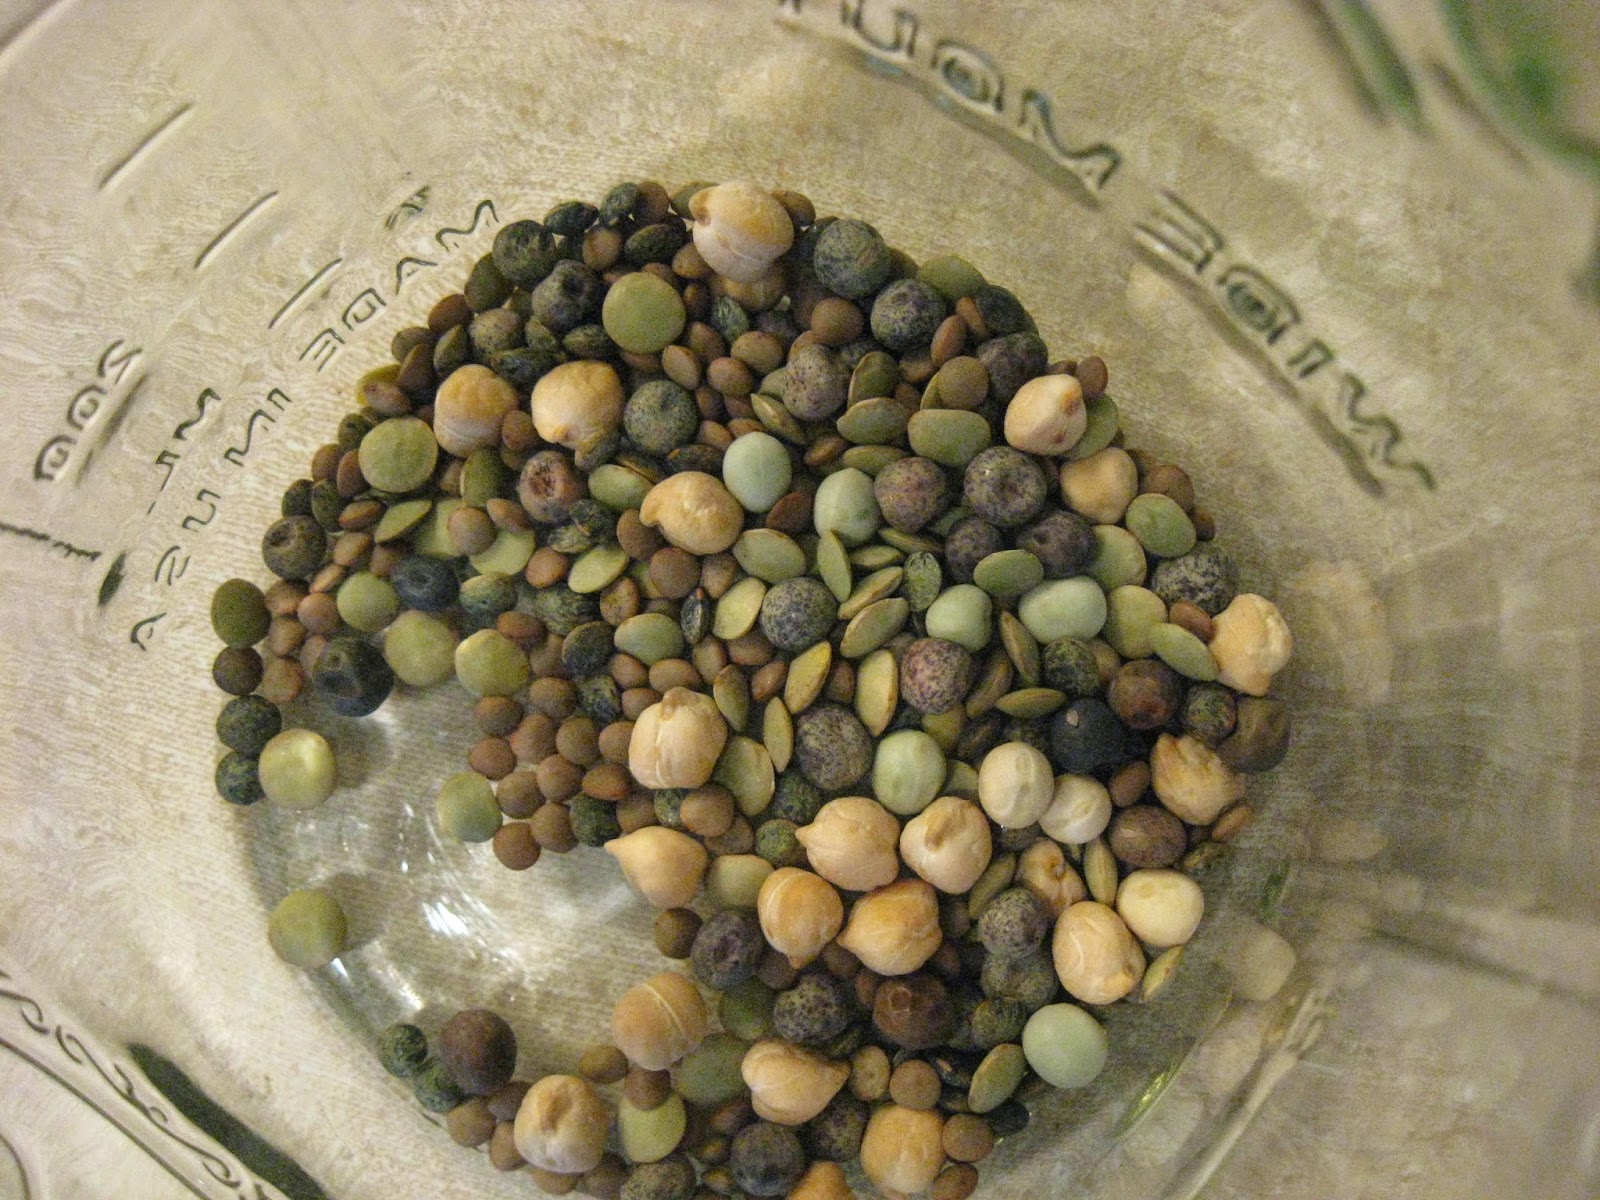 |
| Dry sprouting seeds, ready for soaking |
 |
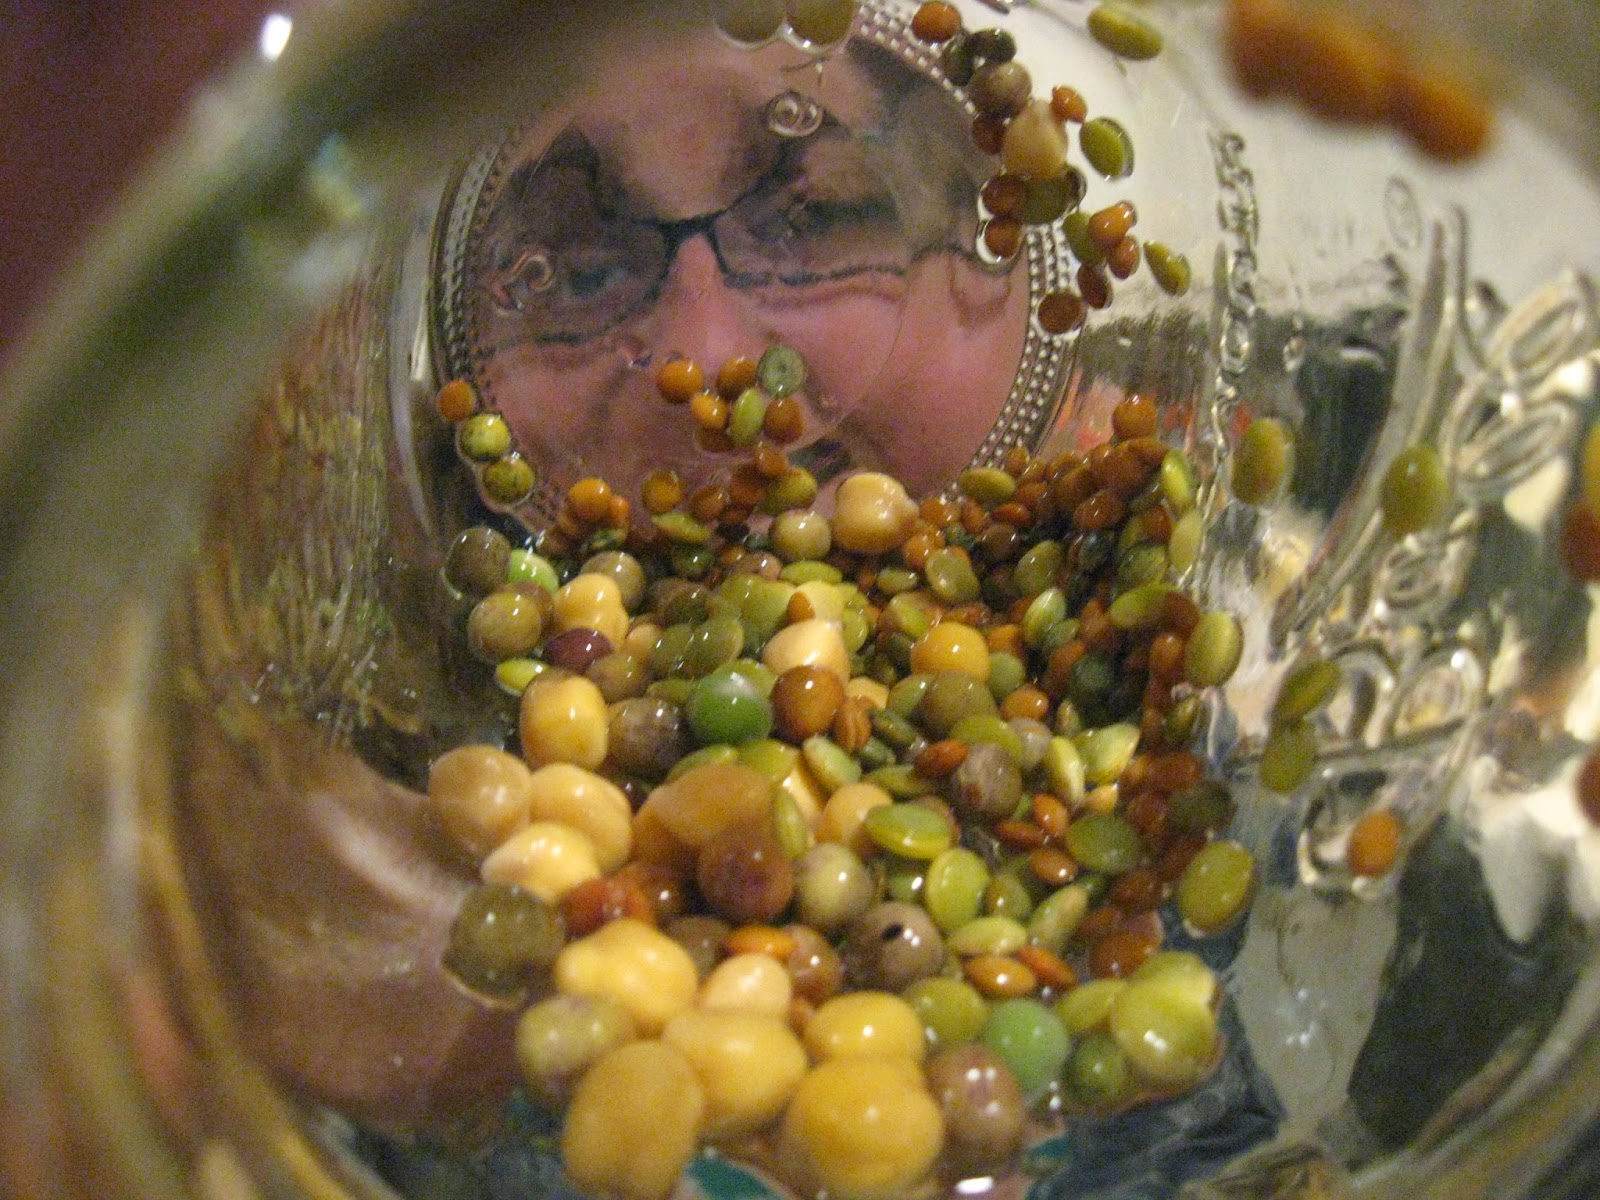
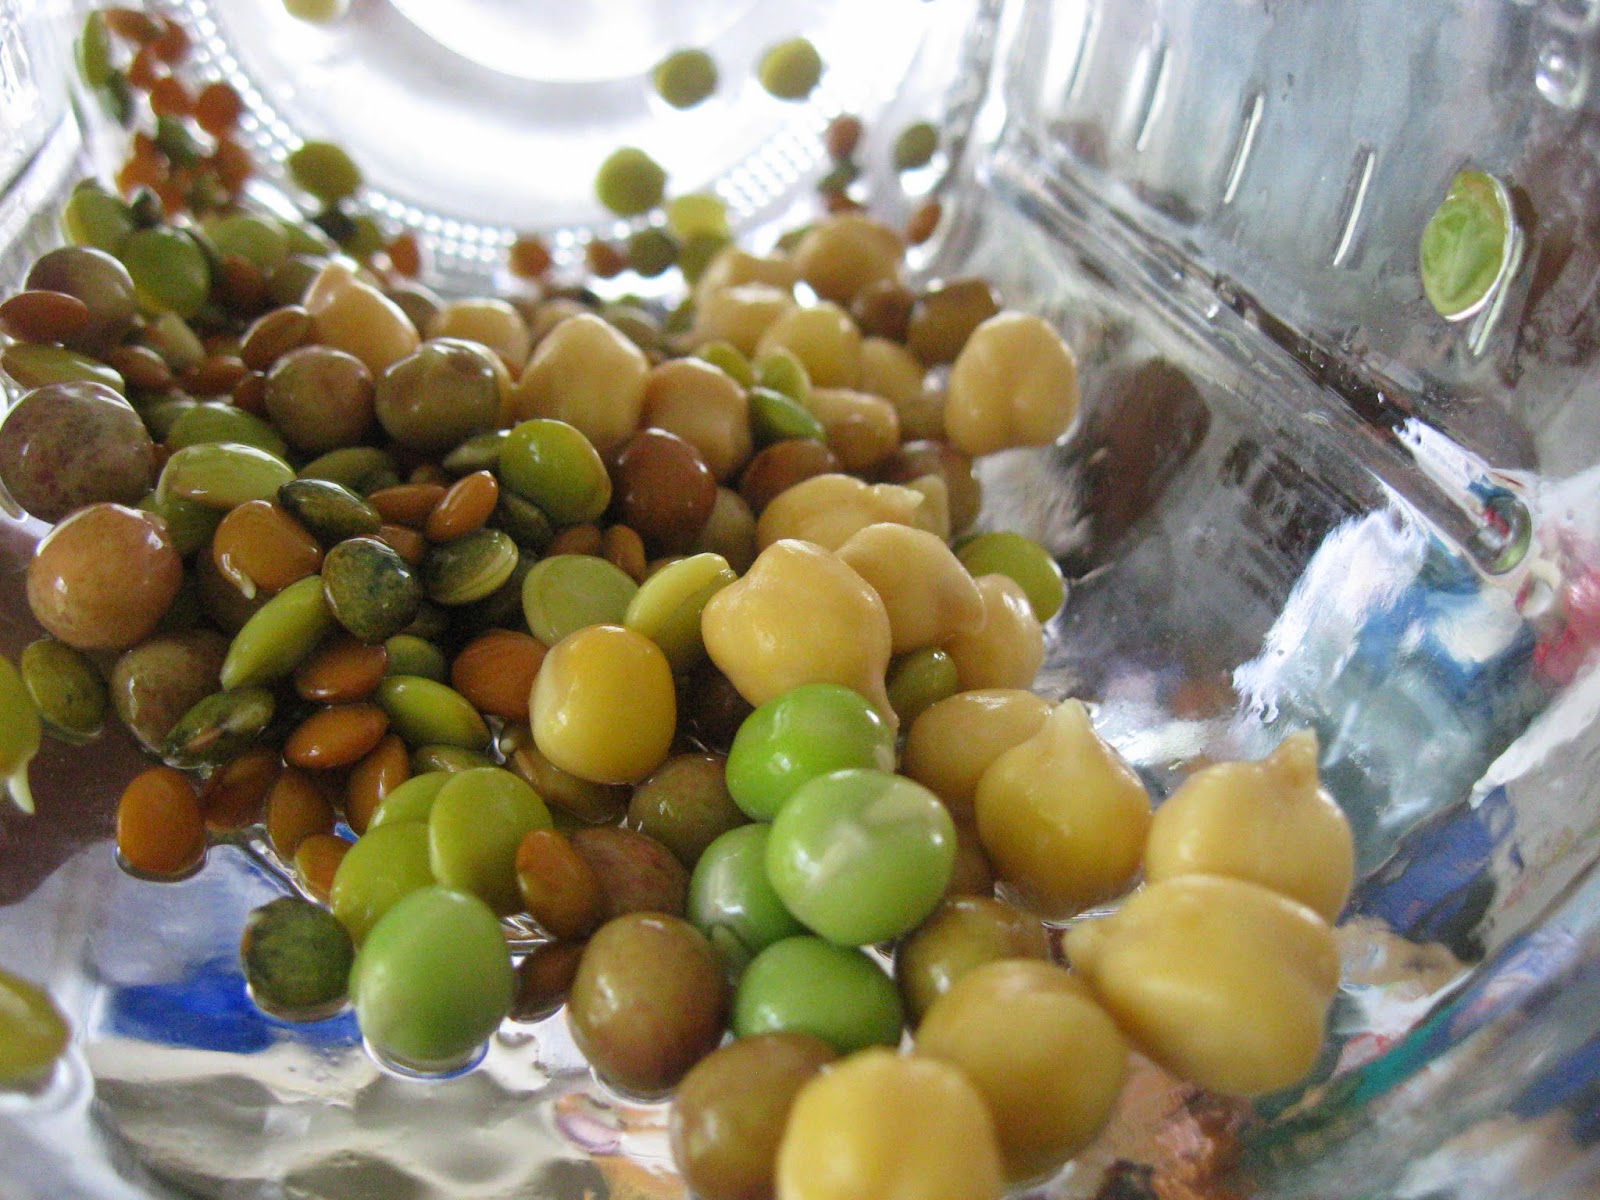
| After about 9 hours of soaking (soaking them for an hour or two longer won't hurt them) |
 |
| 24 hours later |
 |
| After about 30 hours |
 |
| After two days, you can see the sprouts have really begun to sprout! |
 |
| Three and a half days later, the leaves of the sprouts have developed. This is when I like to put them in some light so they can get greener and even more nutritious! |
I hope you enjoyed this post on sprouts! If you have any more questions that I didn't answer in this post, just leave a comment below.
~Rachel
The Thrill of Breakfast
 If you're like my sister, you most likely love cooking and experimenting with new recipes. Sometimes, it probably seems like you're cooking up a new experiment every day, from homemade bread to homemade yogurt to homemade cheese that more than slightly resembles a brain (yeah, that’s kind of a long story...)
 But not everyone is like my sister.
If you are like me, you don’t really like cooking. Oh, you like
eating all right. In fact, you might like it just a little too much. So
much, in fact, that despite your distaste for cooking, you find yourself in the
kitchen every morning, searching for something delicious to have for breakfast.
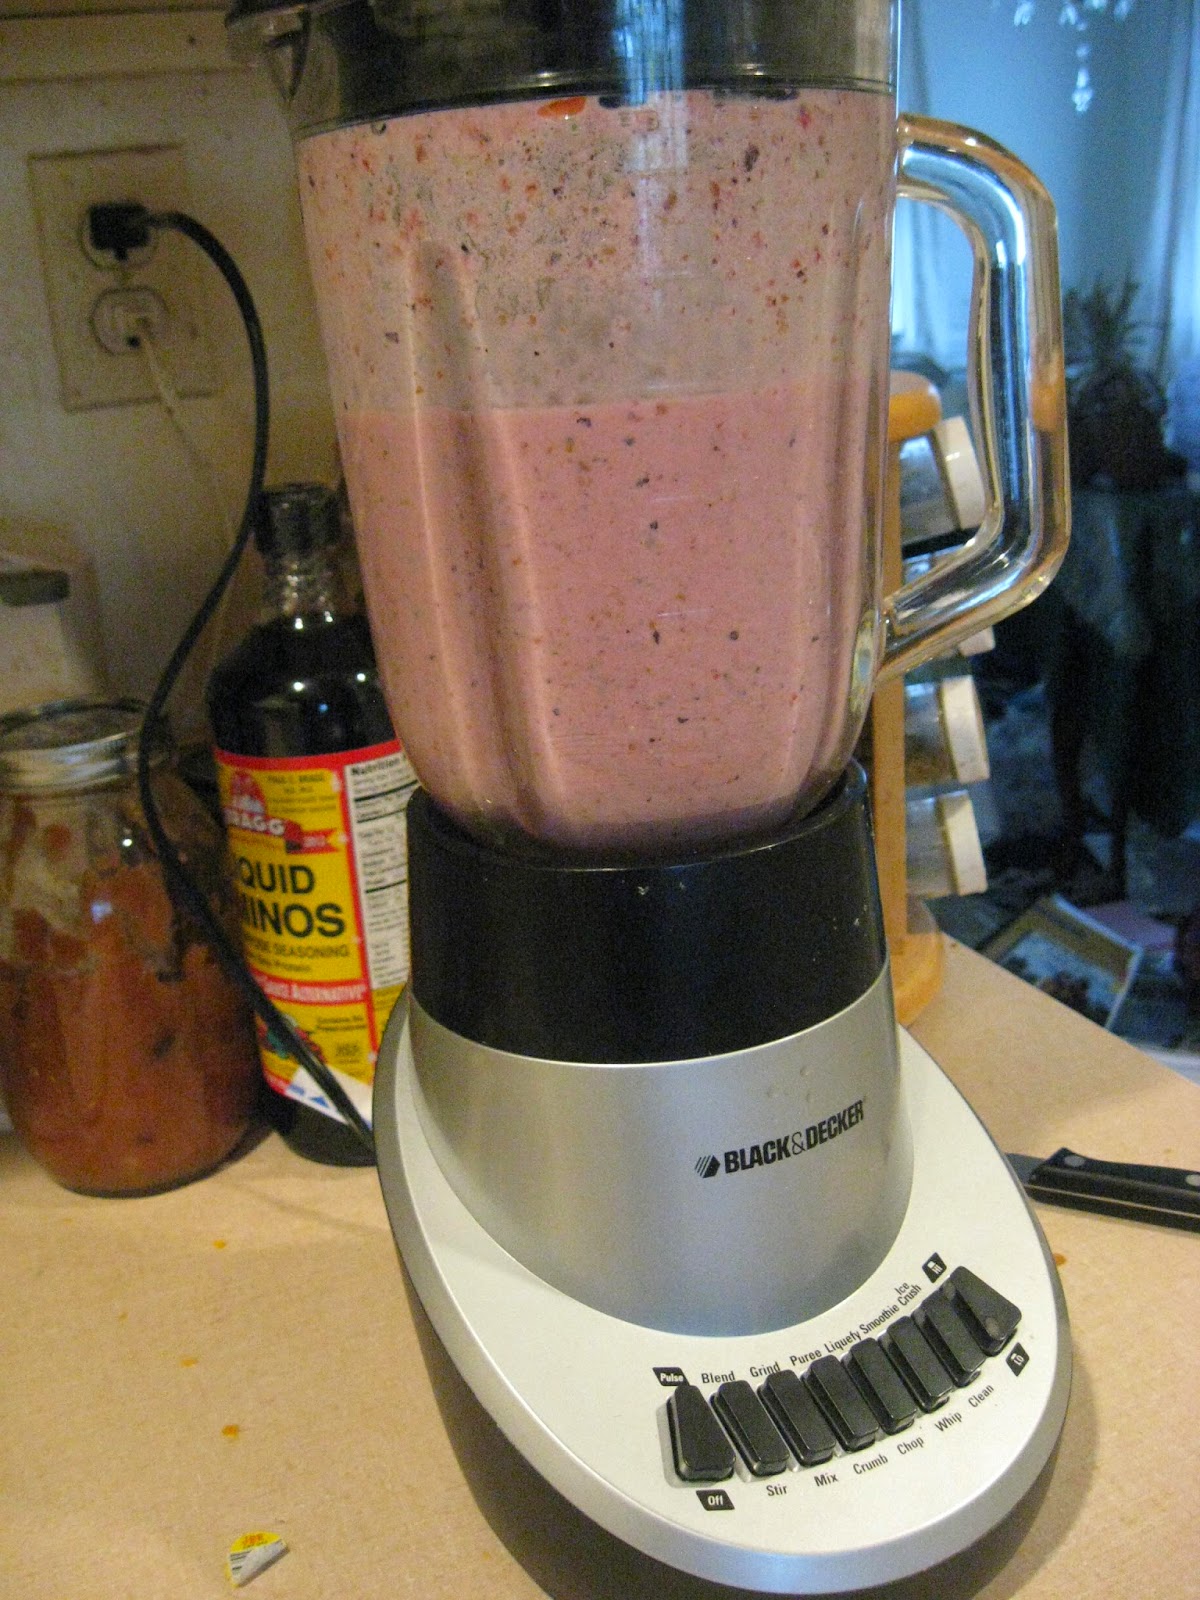
For me, smoothies are one of my most favorite things to have for
breakfast, as well as other breakfast foods. They're quite easy to make, and
they taste so good. There are literally hundreds of different
ways to make them, and thousands of possible ingredients.
We always seem to have various old food sitting around our house, and
smoothies are a great way to use up that old cranberry sauce that’s been
sitting in the fridge for 6 months. (Let’s just say we have had some very interesting
smoothies in the past.) I have this basic recipe that I like to be creative
with:
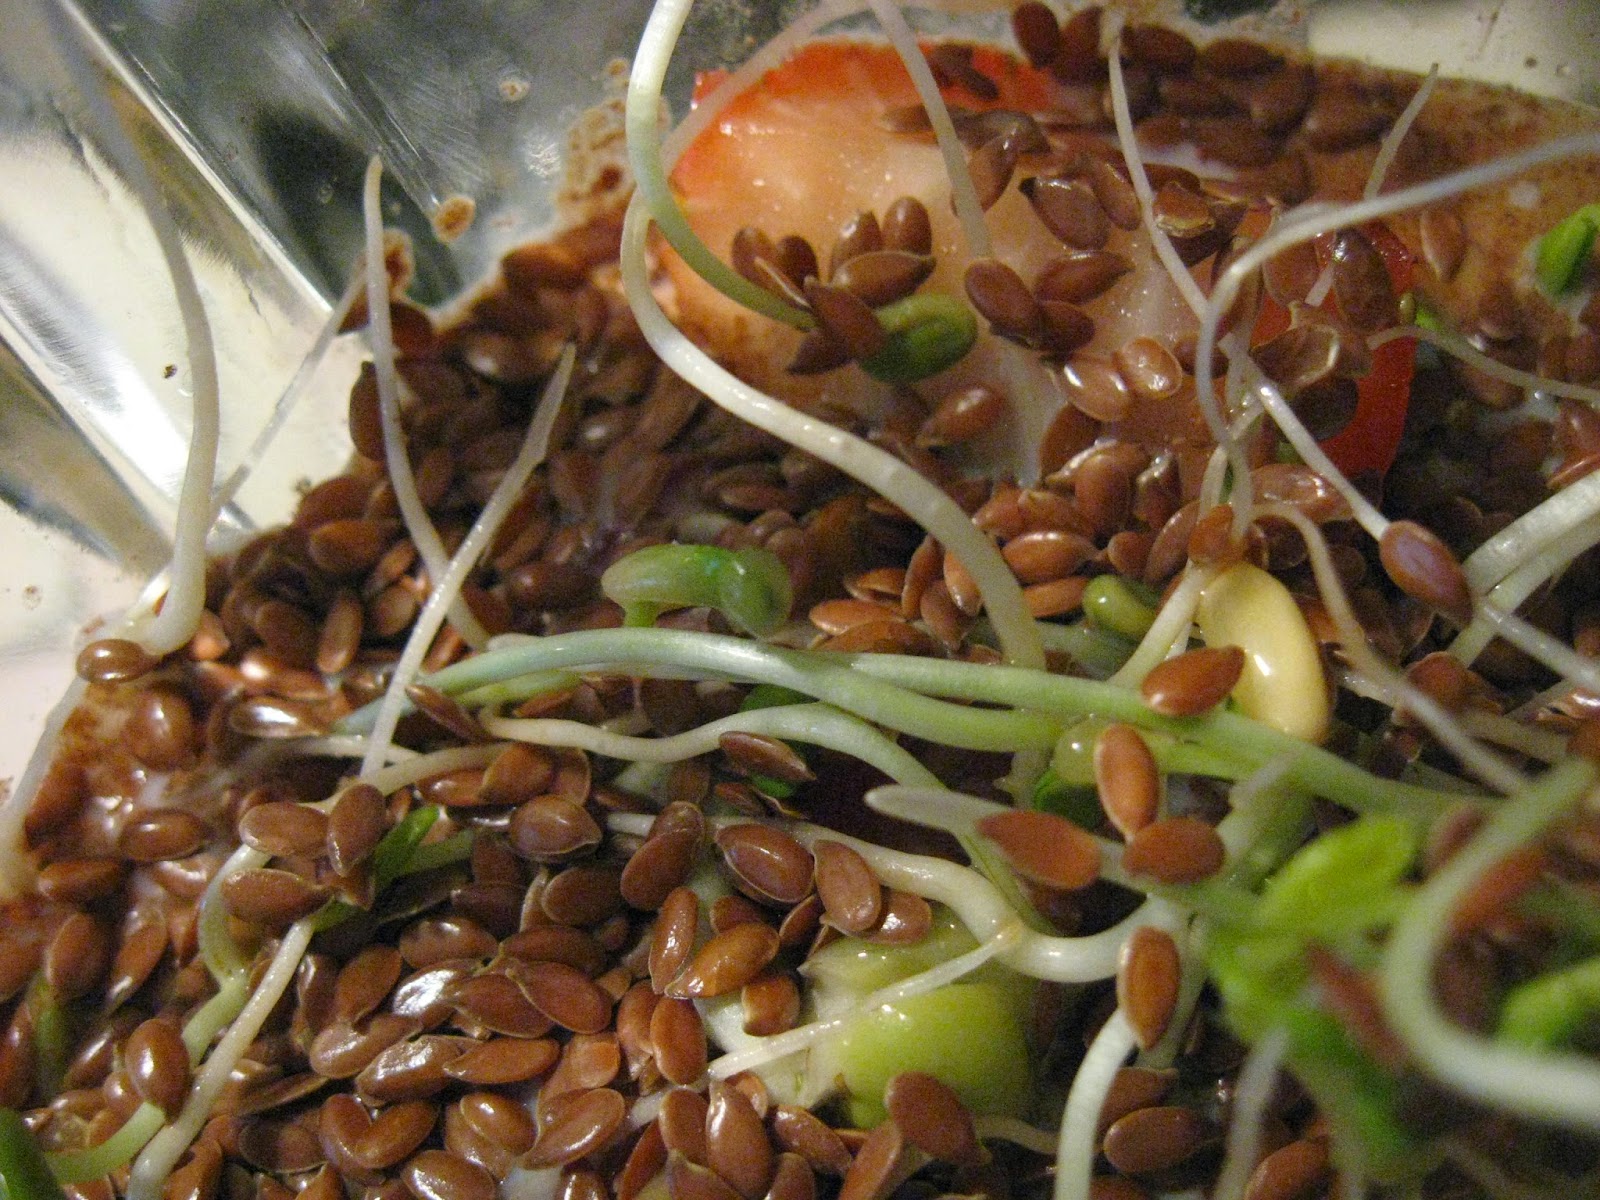 |
| Sprouts and flax seed. What could be better |
- Some liquid (I usually use milk, but you could use any nut milk, fruit juice, ect.)
- The “base”. I usually use some fruit like strawberries, blueberries, peaches, ect. This time, I also threw in some sprouts to get some vegetables in. Yes, this was one of those more interesting-tasting smoothies.
- “Seasoning”: cinnamon, vanilla extract, pumpkin pie spice, ect. I also love putting in about a tablespoon of flax seed. It’s surprising how much your smoothie thickens up when you add a bit of flax seed.
- “Extras”: old applesauce; that last bit of yogurt nobody wants; leftover codfish. (Then again, even the taste of a smoothie is no match for the aroma of leftover codfish)
Well, I hope you have enjoyed this post about breakfast, one of my favorite meals of the day (my other favorite meals of the day are lunch and dinner.) Happy smoothie making!
Do you like cooking or not? What is your favorite food to make?
A Dangerous Ride
Snow.
Sledding is one of the most fun winter sports in the world. Last Friday, at our friends' farm, I experienced a few short hours of sledding, real sledding, for the first time in my life.


Although summer will always be my favorite season of the year, I love winter. I an sure I will always remember this first time sledding on such a huge hill as one of the most thrilling (and possibly dangerous) experiences of this winter.

For some people, a feeling of dread
settles over them at the mere thought of winter, with its freezing cold temperatures, and snow, and ice. But for other people, the word sends a thrill of excitement racing through their entire body. Even if the winter is filled with a hundred snow storms, these people still love the last snowstorm just as much as the very first one of the season. I am one of those people.
Let me tell you why.Sledding is one of the most fun winter sports in the world. Last Friday, at our friends' farm, I experienced a few short hours of sledding, real sledding, for the first time in my life.
Esther and I brought the Flexible Flyer sleds that belonged to our parents, and our friends brought round saucer sleds and surf board sleds. I decided to go down the hill on the Flexible Flyer first because it seemed like a fairly undangerous option for my first ride down a hill of this size.
Now I know why they call it a “flyer”. The
first bump sent me flying down the hill and landing in a snow-covered heap
(with an evil-looking sled rattling down after me).
I didn't use the Flexible Flyer too much after that.
 |
| This is what happens when you try to sled down the hill on a rusty Flexible Flyer. (I'm the one in the teal coat who just fell off the sled.) |
Racing down the hill on the sleds was so much fun, we didn't even think about the long walk back to the top. Of course, we thought about it a lot when we had to trudge back up! The hill was so long and so steep, we had to rest many times before we got to the summit. Of course, the snow made it a million times harder –every footstep we took was sucked up by about 6 inches of snow.
Those flying saucer sleds were something
else. As soon as you took your hands off the ground at the top of the slope,
all the way down to the bottom, you spun, around and around and around and around (are you
dizzy yet? Because I sure was!)
Sometimes the saucer dumped you off right in
the middle of the slope and you kept right on sliding.
Sometimes you hit a bump
and did a complete somersault, like me.
Or sometimes, you happened to hit someone pulling up a snow tube on a leash, and you, your boots, the sled, your socks, and your gloves went flying in all different directions, like Esther.
 |
| Tragically, there is no photo of Esther's near death experience involving the snow tube on a leash, so you'll just have to look at this picture of me instead. |
Adventures in Cardstock: Make your own 3D Stickers!


Have you ever seen those cool, three dimensional stickers for scrapbooking and other crafts? The ones you would love to get but that cost about a million dollars a sheet? Well, today, I made my own 3D stickers, and they didn't cost a ton of money either!
You will need:

- Cardstock in cool colors and patterns
- Foam craft sheet (or any other foam you happen to have lying around)
- Paper punches, or some other way to chop shapes out of your cardstock
- Glue and scissors
Here's what you do:
- Punch out shapes from your cardstock. We have a thingy called a Sizzix that punches out shapes from paper and fabric, and anything else you might want shapes punched out of. Or you could use paper punches, or you could cut out shapes by hand. Or you could just ask a friend who happens to have a Sizzix and paper punches.
- Now, cut out a square from your craft foam that is smaller than one of your cardstock shapes. Glue this between two of your shapes. This is what makes your sticker 3-dimensional!
- I didn't use any more than two pieces of craft foam in one sticker (and only one in the smaller flower ones), but experiment to see what you like best.
- Enjoy experimenting with making your own three dimensional stickers! You can use your new stickers to make cards, scrapbook pages, or any other project that needs something like this.

I hope you enjoyed this tutorial! I will hopefully be posting more soon (but don't get your hopes up too much, I'm afraid).

 |
| Paper punches |
 |
| Sizzix thingy |
Subscribe to:
Posts (Atom)