Showing posts with label How-to. Show all posts

Brush lettering: Fake it till you make it

The first five days after a weekend are always the hardest. But it's finally here – Friday! You finally get to sit down and try that hand lettering you've been putting off ever since you read my last post.

But what if you want to get the hand lettered look without buying yet another pen? Or what if you did get brush pens, but you're struggling to use them? Or what if you went home for Easter break and realized you had brought back four huge containers of extra stuff from your dorm, but still managed to forget all your brush pens? (Not that I would happen to know anything about that...)
How to fake brush pen lettering
You could frame this piece for your walls or use the design on a chalkboard.

Three reasons hand lettering isn't that hard

Have you ever gotten a hand lettered card in the mail and wished you could send someone one like it? Well, guess what? You can!

I used to think hand lettered pieces looked way too complicated to do myself, but when I started with it last fall, I quickly found out that hand lettering is only made up of some basic lines and loops. I think anyone can hand letter something, whether or not you think you're creative! Today, we're going to look at three reasons why hand lettering isn't that hard.

Whenever I receive a gift from someone really close to me, I always try to make a hand lettered card just for them.

How to draw a flower wreath

Today, I'm going to show you how to draw this flower wreath! The thing I love about this is that even though it looks complex, it's really only made up of smaller shapes. This would also make a beautiful greeting card if you did some hand lettering in the middle!


How to draw a monarch butterfly

I love drawing nature. There are so many beautiful things to choose from, and it can be so relaxing. But I think it can sometimes be overwhelming too - picking a subject that isn't too difficult, making sure the colors look right, deciding which medium it would look best in...goodness, it's enough to discourage anyone from picking up that pencil! So I thought I'd show you how to draw something nice and simple today. Let's get started!

Adventures in Fabric

Click if you dareThe great thing about being home from college for almost a month is that I've finally had time to get some quilting done without homework, deadlines, and other things getting in the way. I've been working on a full-size quilt for my bed, and now, after nearly six and a half years, I'm thrilled to announce.... I'm still working on it. There's nothing quite like sitting under a quilt on a cold day with a hot cup of tea, while your cat pounces on your feet and anything else underneath the quilt. But that's for another blog post...

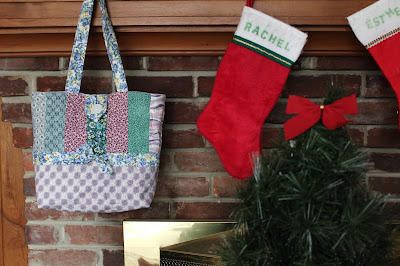
I made this quilted bag recently as a Christmas present
for a friend. Quilted bags are a great way to use up all those old fabric scraps you might have sitting around from other projects. They're also a fun way to practice or learn how to hand quilt, if you don't already know how. Here

Adventures in Cardstock: Make your own 3D Stickers!


     Hello everyone! (I'm back) Today, I thought I would do a craft post!
     Have you ever seen those cool, three dimensional stickers for scrapbooking and other crafts? The ones you would love to get but that cost about a million dollars a sheet? Well, today, I made my own 3D stickers, and they didn't cost a ton of money either!

You will need:

  • Cardstock in cool colors and patterns
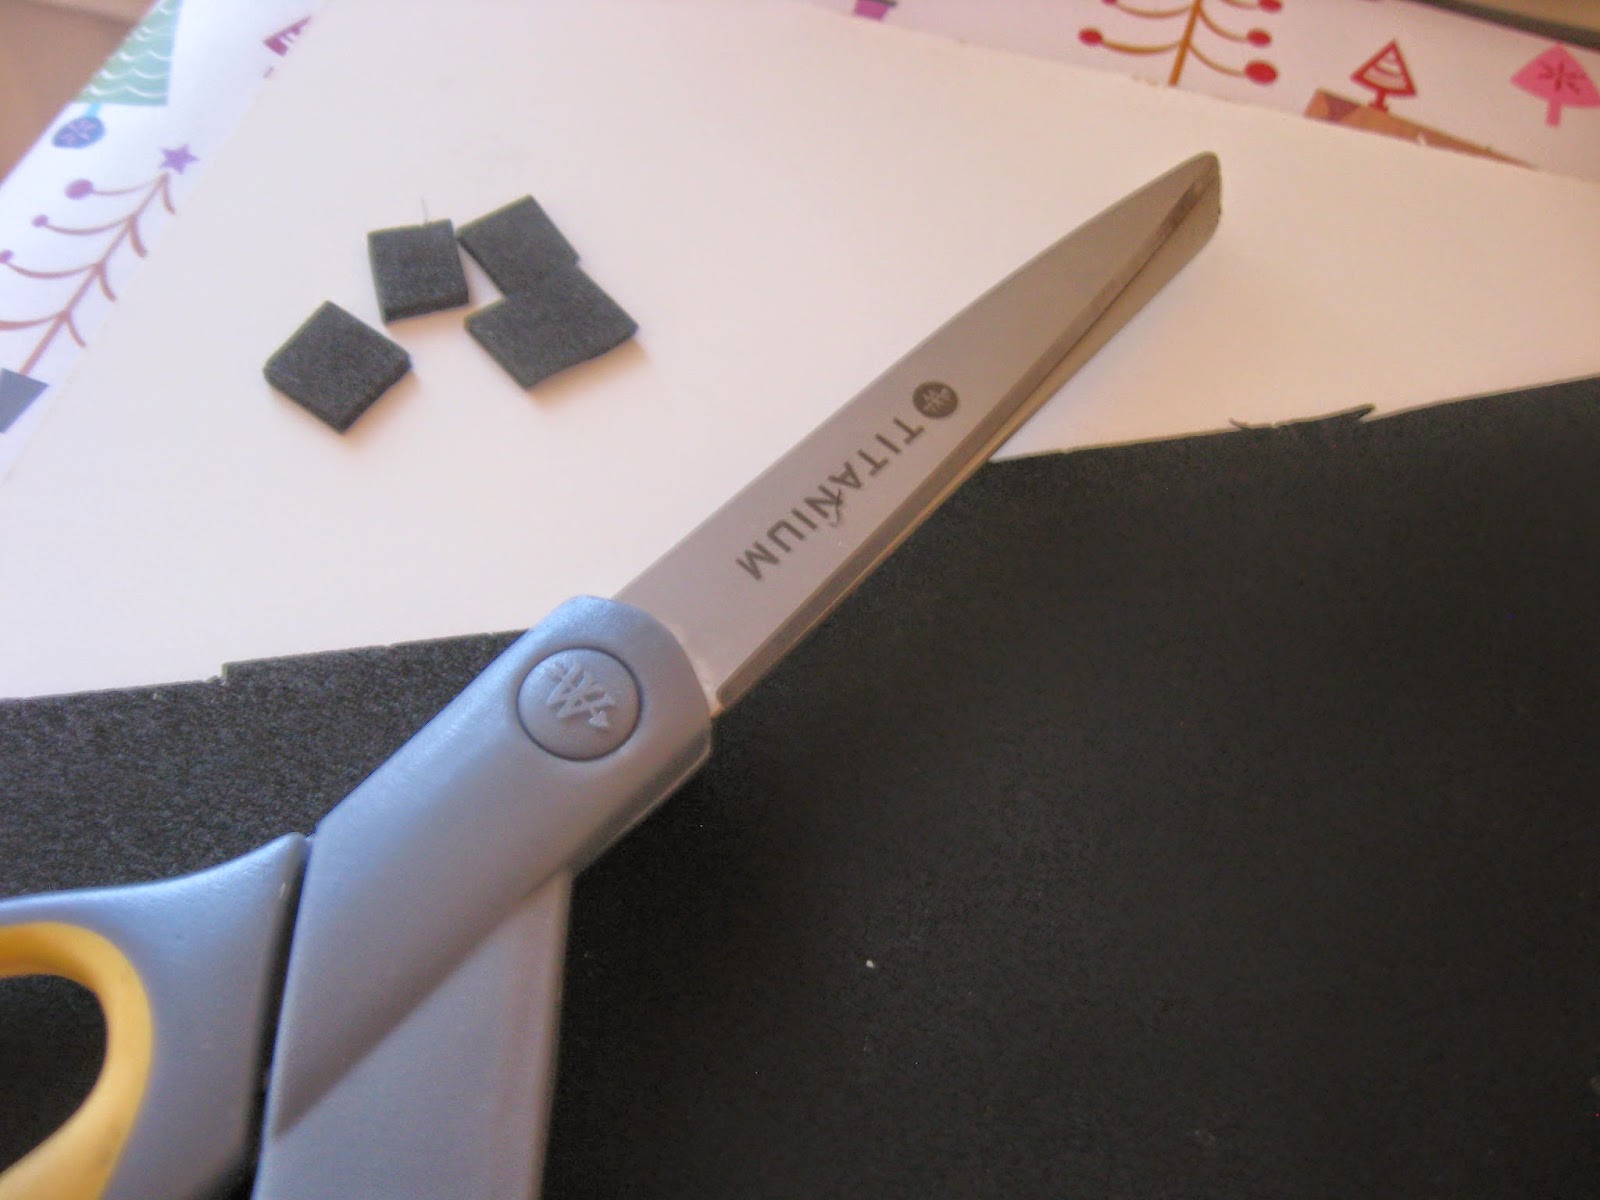
  • Foam craft sheet (or any other foam you happen to have lying around)
  • Paper punches, or some other way to chop shapes out of your cardstock
  • Glue and scissors
Here's what you do:

  1. Punch out shapes from your cardstock. We have a thingy called a Sizzix that punches out shapes from paper and fabric, and anything else you might want shapes punched out of. Or you could use paper punches, or you could cut out shapes by hand. Or you could just ask a friend who happens to have a Sizzix and paper punches.
  2. Now, cut out a square from your craft foam that is smaller than one of your cardstock shapes. Glue this between two of your shapes. This is what makes your sticker 3-dimensional!
  3. I didn't use any more than two pieces of craft foam in one sticker (and only one in the smaller flower ones), but experiment to see what you like best.
  4. Enjoy experimenting with making your own three dimensional stickers! You can use your new stickers to make cards, scrapbook pages, or any other project that needs something like this.
I hope you enjoyed this tutorial! I will hopefully be posting more soon (but don't get your hopes up too much, I'm afraid).

Paper punches

Sizzix thingy


How to set the table in Australia


Do you ever get tired of seeing half-filled glasses of water on the table, especially when they're all right side up? Learn how they do it in Australia!

1.) Cover the top of a glass of water with a thick piece of paper.
2.) Hold it in place and quickly flip the glass upside down and set it on the table.
3.) Very slowly remove the paper. Done!


How to set the table in Australia

Labels

Fun (17) Sister (17) Family (13) Crafts (10) Family Vacations/Trips (10) Summer (9) Florida (8) Winter (8) Art (7) How-to (7) School (7) Eating (6) College (5) Drawing (5) Food (5) Spring (5) Writing (5) Christmas (4) Fall (4) Friends (4) Liberty University (4) Cooking (3) Health (3) Sewing (3) Games (2) New York (2) Snow (2) Sprouts (2) Technology (2) Baking (1) Finals (1) Lettering (1) Lifeguard (1) Photography (1) Pool (1) Really Big Cakes (1) Sledding (1) Thanksgiving Break (1)
01 09 10